How to Add a Border to Blog Post Featured Images in Squarespace
If you're looking for a subtle way to make your blog overview page pop, adding a border to your blog post featured images is a simple design tweak that can make the images stand out.
In this quick tutorial, I'll show you how to use a bit of custom CSS to add a border around your blog post featured images.
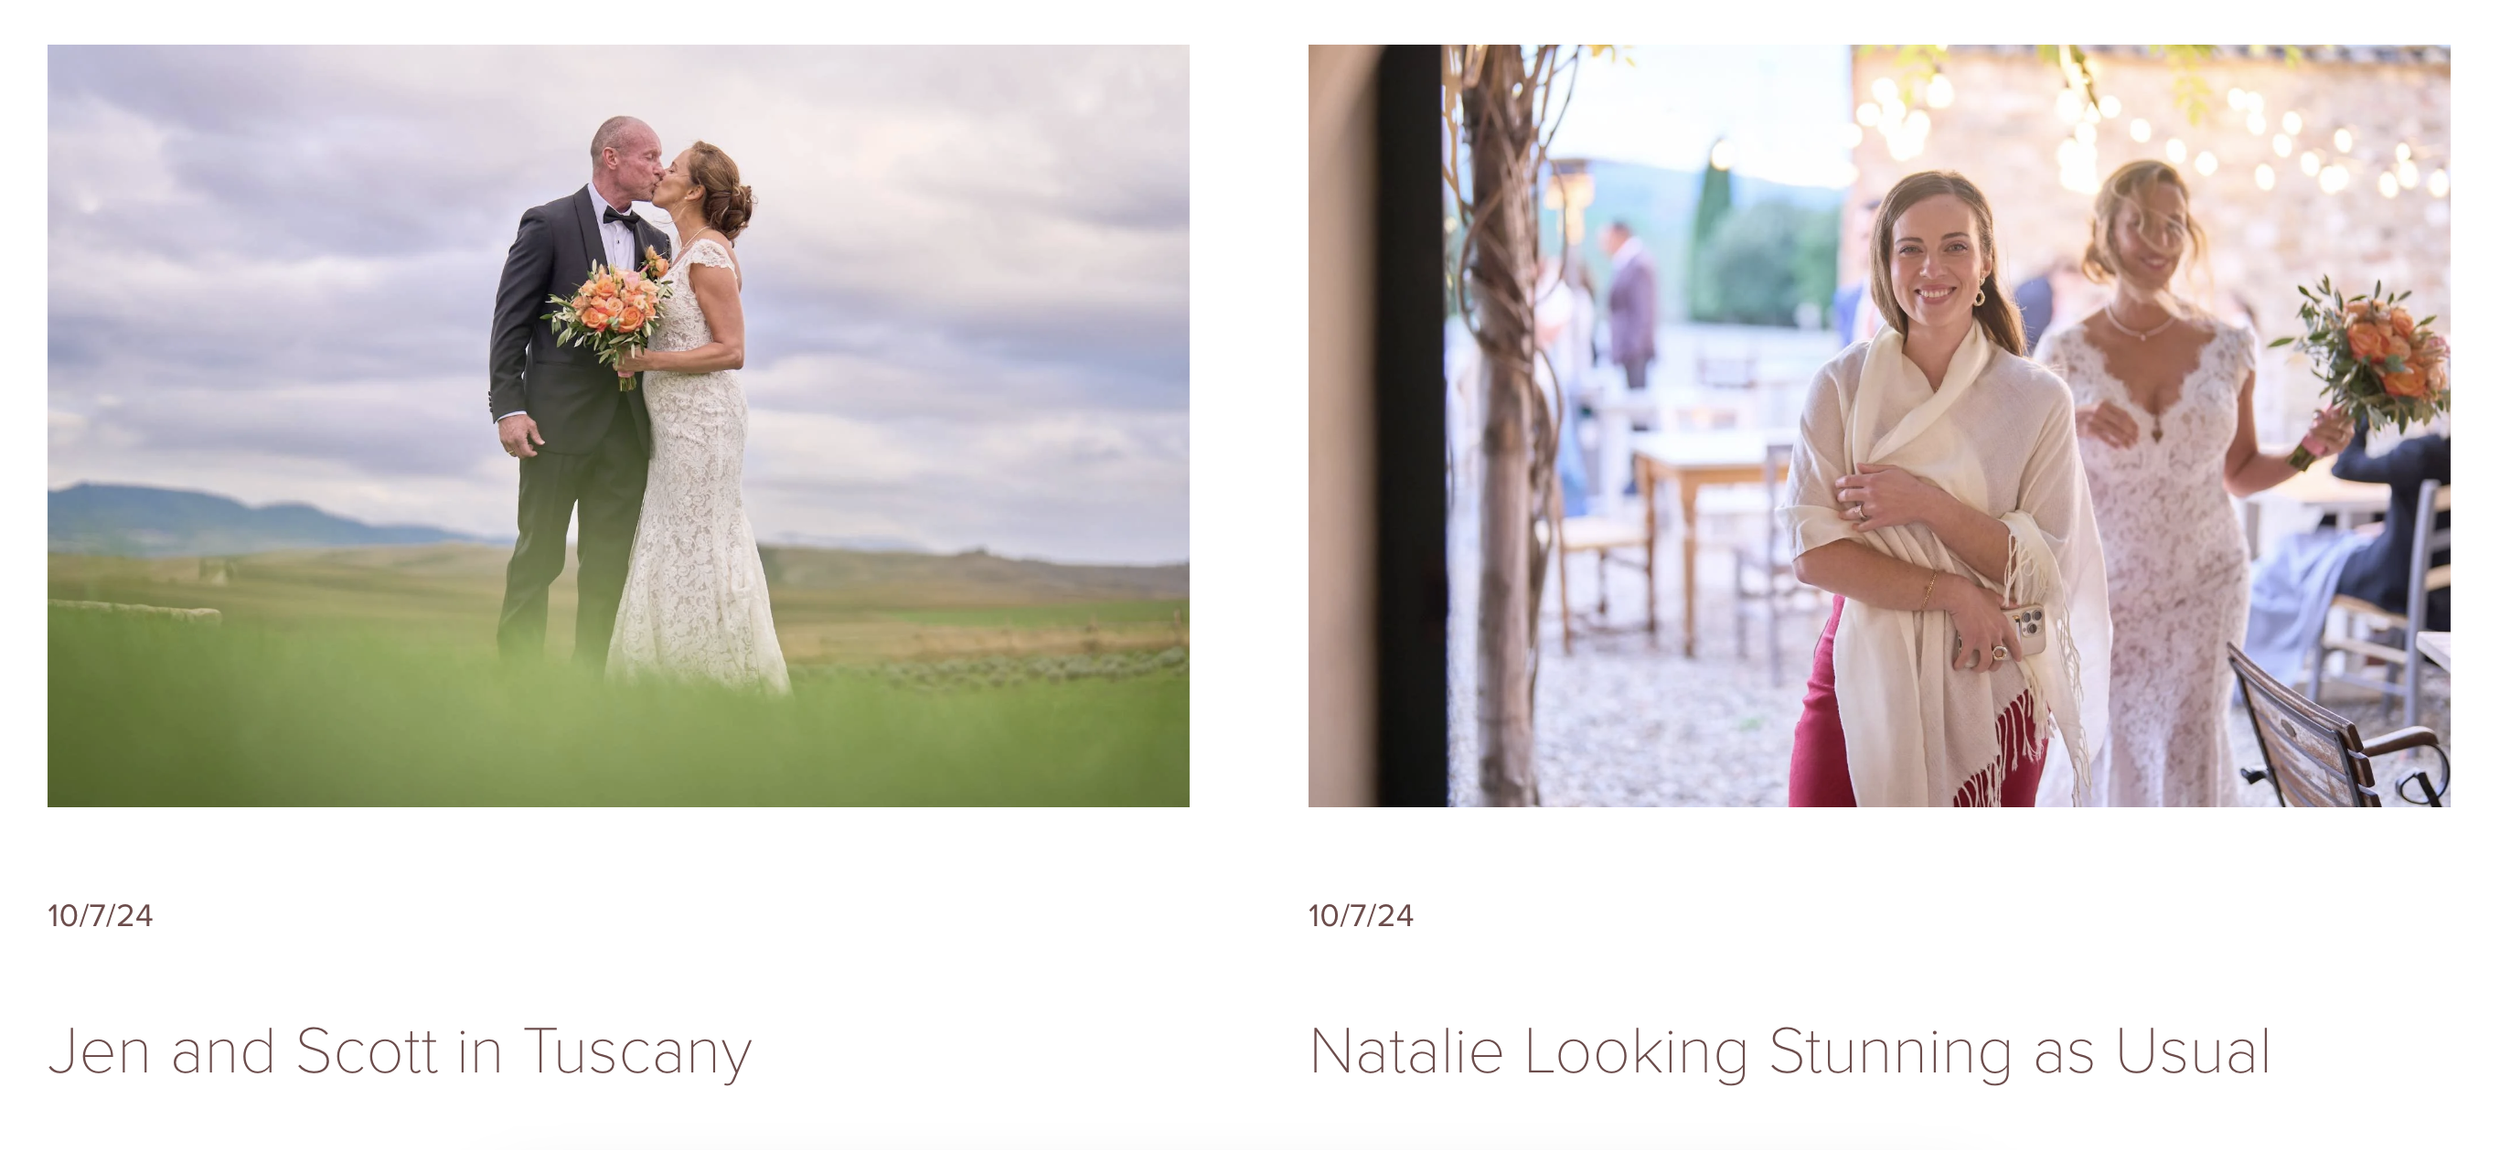
BEFORE ADDING A BORDER
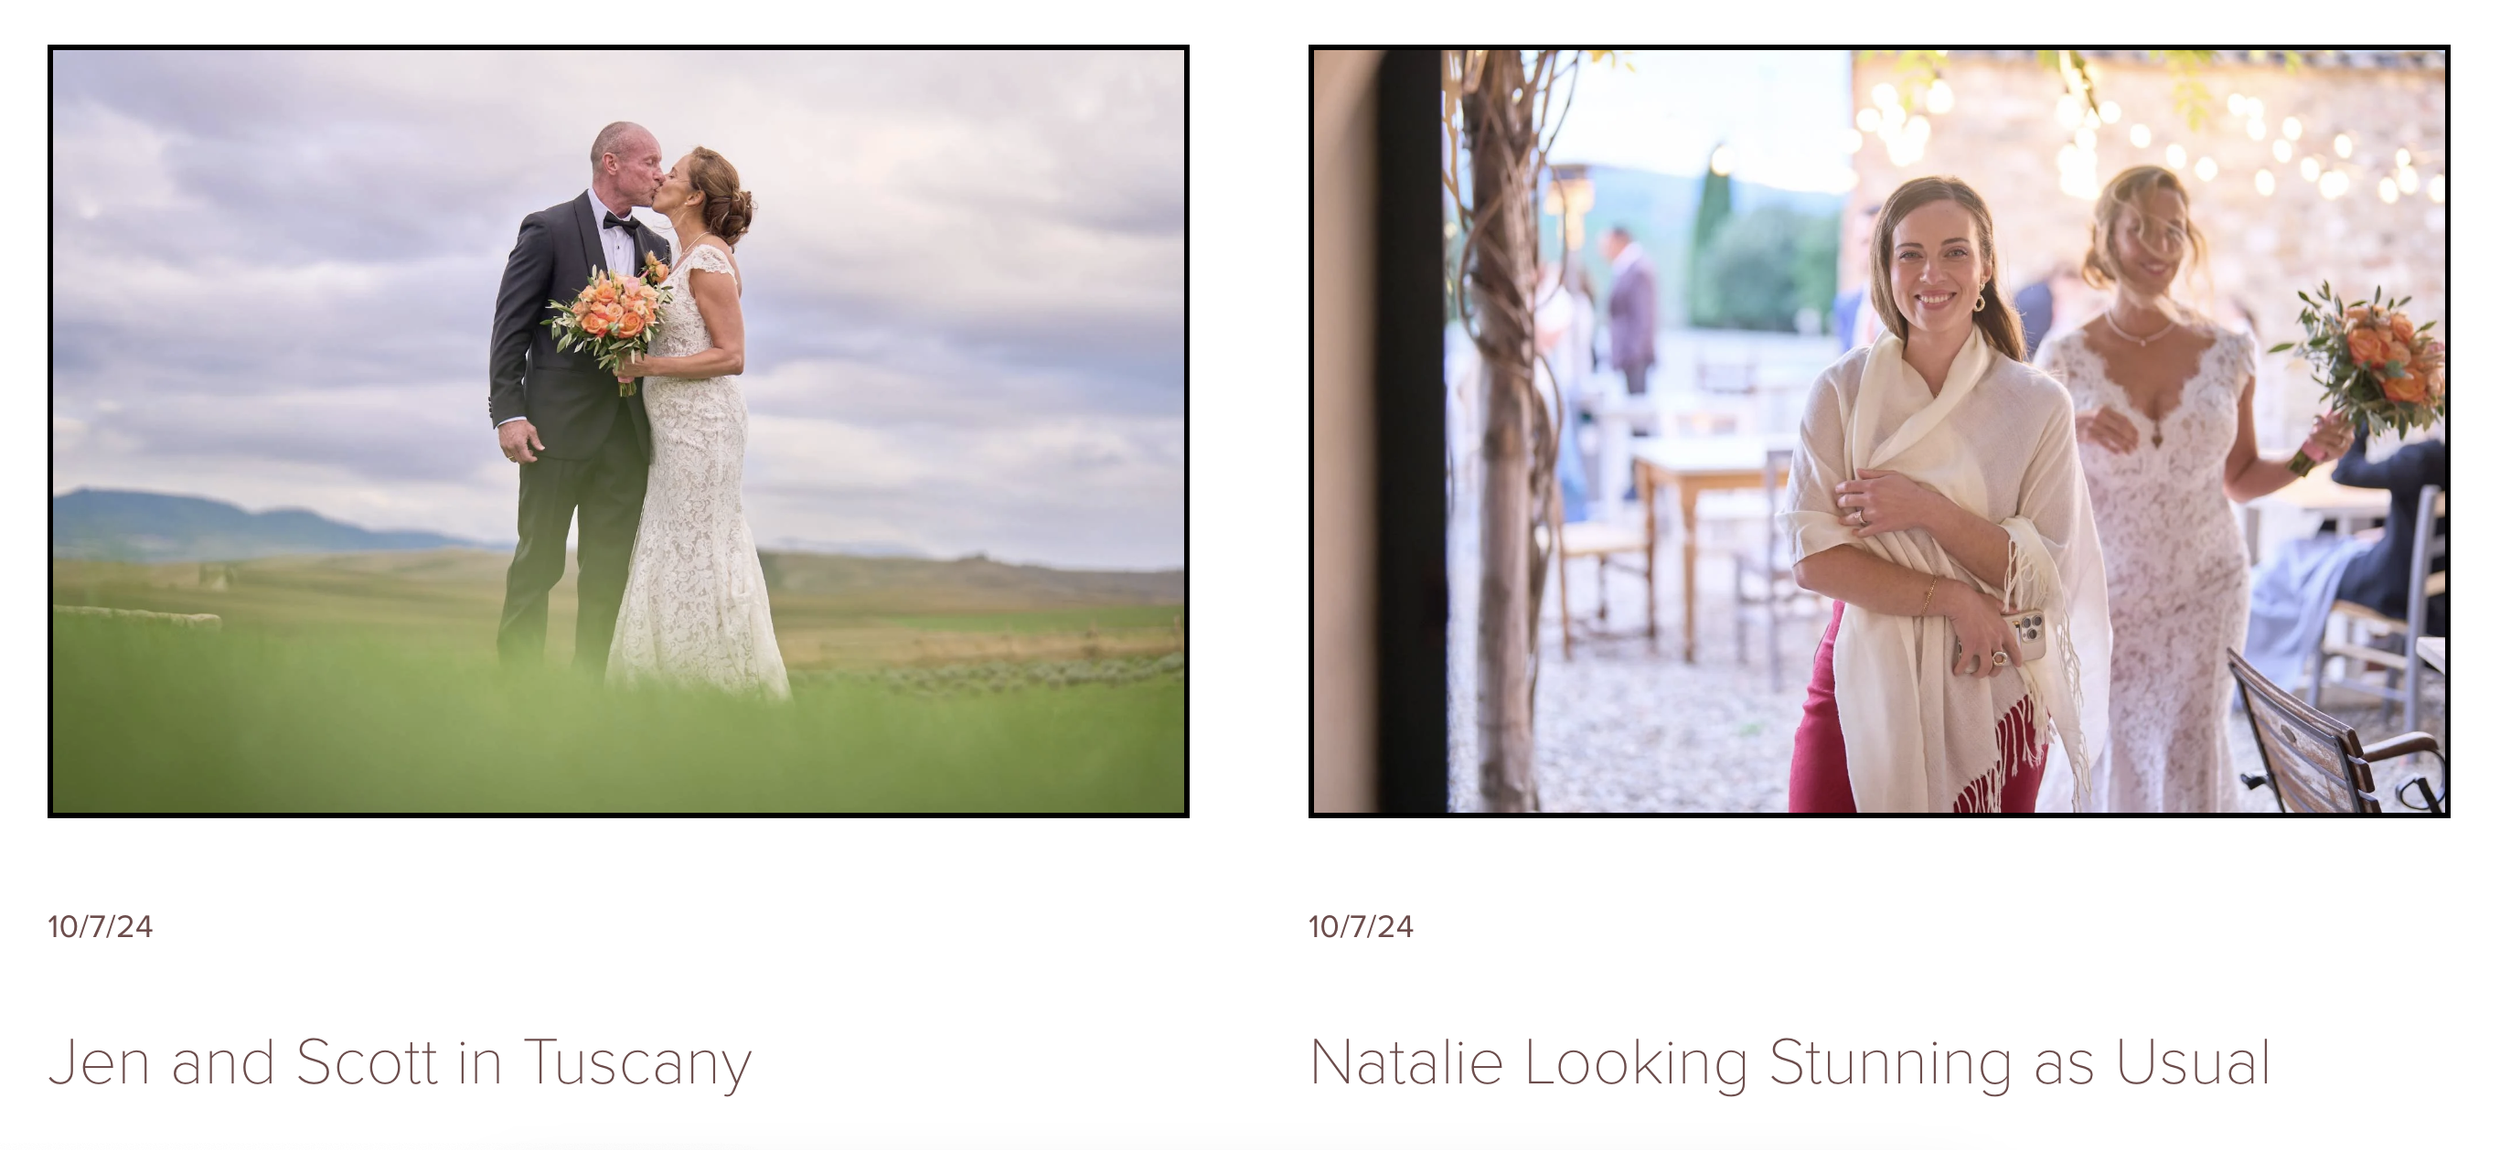
AFTER ADDING A BORDER
Determine Your Blog Post Overview Page Layout
This technique works for all the standard Squarespace blog summary layouts, but you need to know which layout you are using.
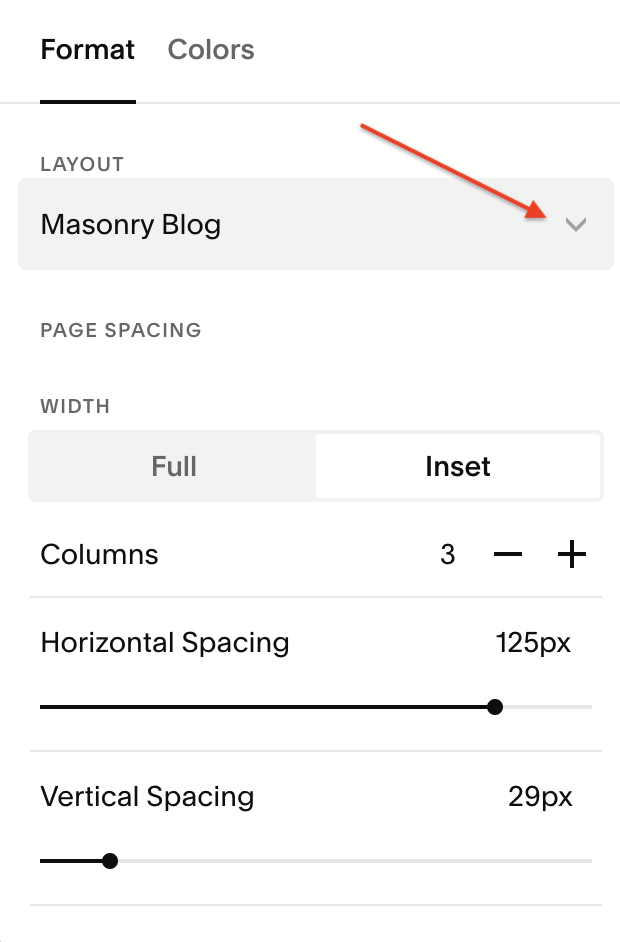
Here’s how to check which layout you’re using:
Click Edit on your blog section.
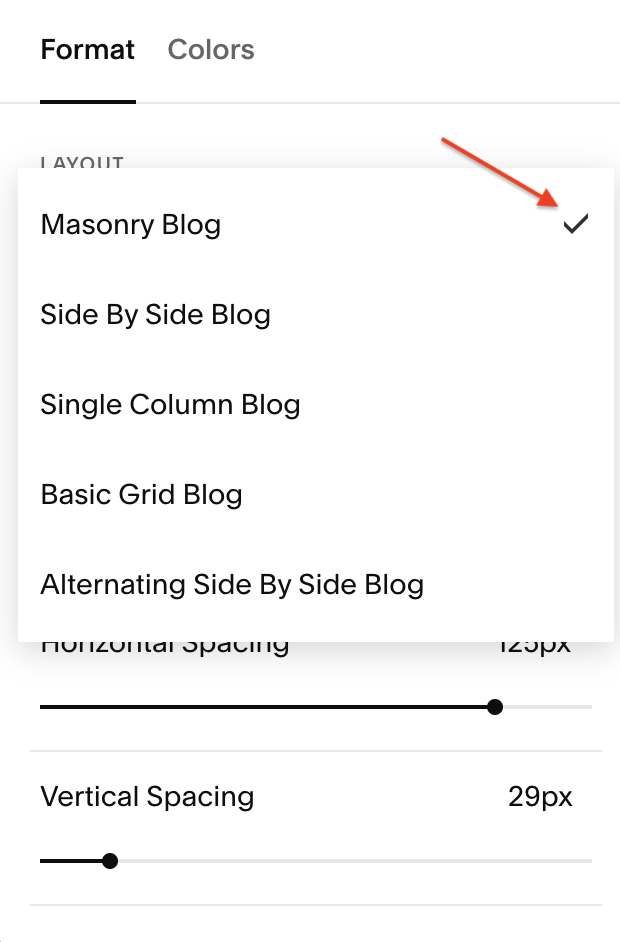
Open the layout dropdown. You'll see options like:
Basic Grid
Side-by-Side
Alternating Side-by-Side
Masonry
Single Column
Each layout may require a slightly different code snippet, so make sure to grab the right one.

Add a Border to Blog Post Featured (or Thumbnail) Images
Navigate to your Squarespace Website Pages, scroll down to Custom Code, and select Custom CSS.
Copy and paste the appropriate code snippet from below (scroll down). Choose the one that matches your selected blog layout.
Customize the border:
Adjust the thickness by changing the pixel value (e.g.,
1px,3px,10px).Change the color by replacing the hex code with your brand color (e.g.,
#000000,#faca78).
Save your changes.
That's it! You’ve just added a custom border to your featured blog post images
Code Snippet(s)
/* Add border to blog post featured images */

.blog-basic-grid .image-wrapper {border: 3px solid #000;
  }

.blog-masonry .image-wrapper {border: 3px solid #000;
  }

.blog-side-by-side .image-wrapper {border: 3px solid #000;
  }

.blog-alternating-side-by-side .image-wrapper {border: 3px solid #000;
  }

.blog-single-column .image-wrapper {border: 3px solid #000;
  }

This page contains affiliate links